Using security panel controls
Accessing basic security panel controls
To access basic security panel controls:
-
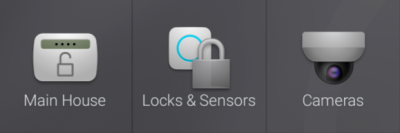
Select the security panel icon (labeled Main House in the example below).
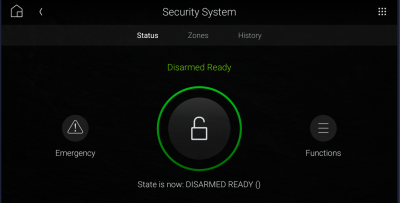
The security panel screen opens.

Arming your system
To arm your system:
-
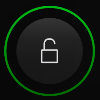
In the room's Security menu, select the large lock button with the green ring around it.
-
In the Arming Mode list, select Home or Away.
Note: Your security panel may provide additional arming options.
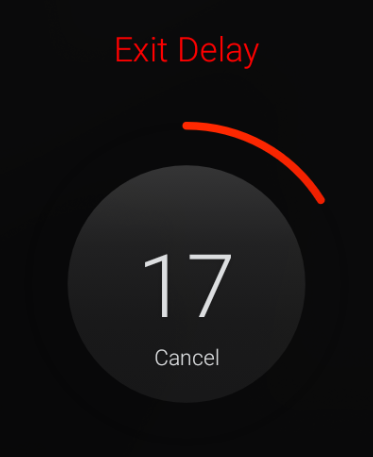
The ring around the button changes to red, and you are given a countdown to exit the building before the alarm system is armed.

Tip: To change the length of time delay, or to require a PIN code for arming, ask your Smart Home Pro.
- To cancel the countdown timer and disarm the system, select the Cancel button.
Disarming your system
To disarm your system:
-
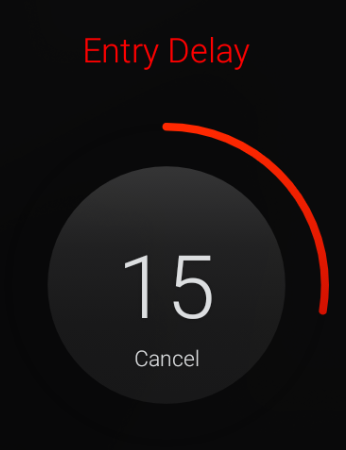
Upon entry to your home while your security panel is armed, an Entry Delay timer appears and begins counting down.

- Select the large lock button with the red ring around it that displays the Entry Delay countdown to disarm the system.
The security keypad opens.
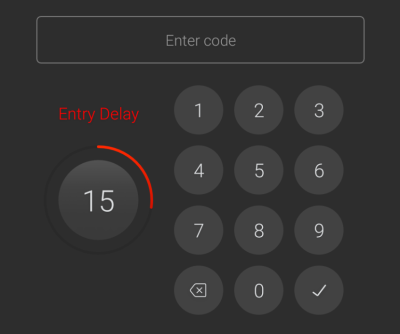
- Use the numeric keypad to enter the security PIN, then select the
 (OK) icon to submit the code. If the PIN is correct, the security system is disarmed (green ring). If the PIN is incorrect, the countdown continues.

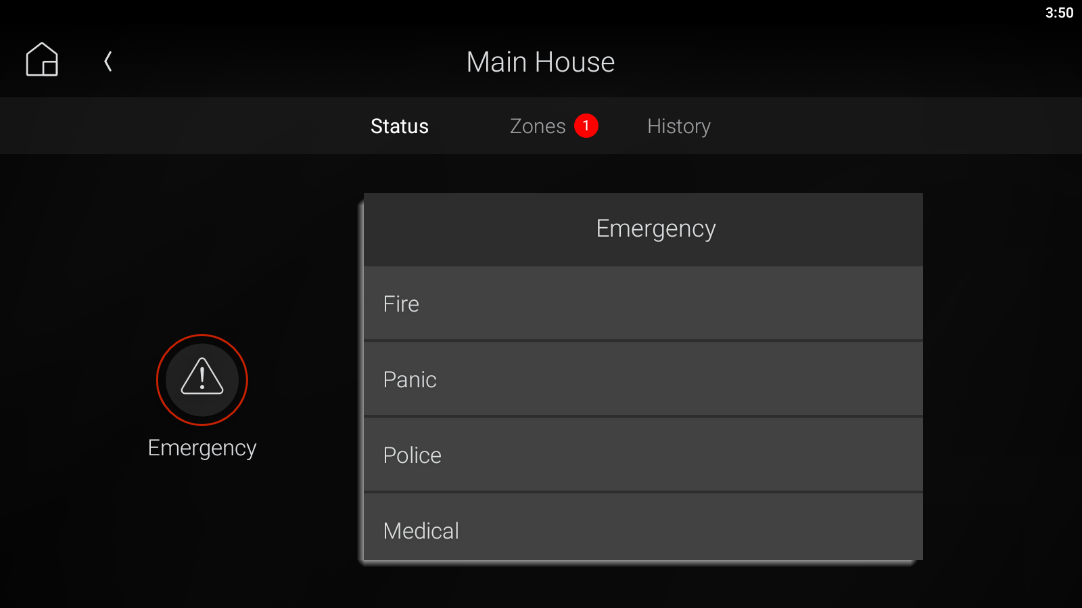
Sending a panic alert
You can send a manual fire, police, medical, or panic alert from any visual interface, even while the security system is disarmed. (Availability and method of sending the alerts depends on your security system provider.)
To send a panic alert:
-
In the security panel screen, select the Emergency icon, then select the emergency service to notify.
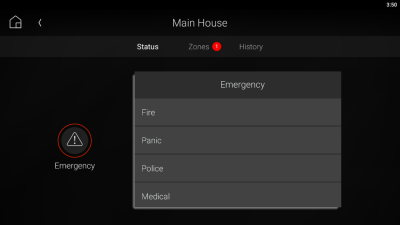
A confirmation message opens.
Note: The available emergency services depend on how your security system is configured. Contact your security system's installer or your Smart Home Pro for details.
-
To confirm sending the alert, select SEND.
Important: Canceling the alert will not recall emergency services that have already been dispatched to your home.
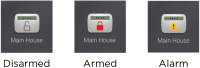
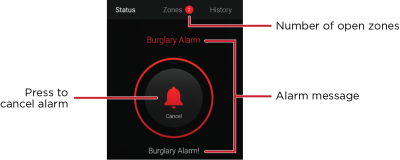
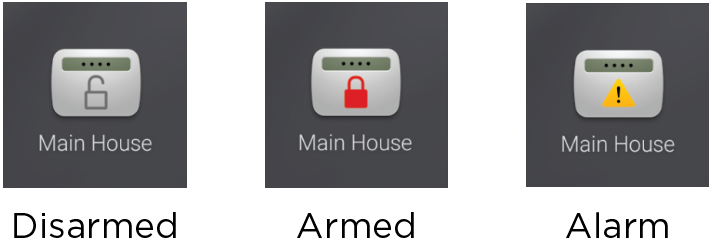
Viewing security status at a glance
To quickly view security status:
-
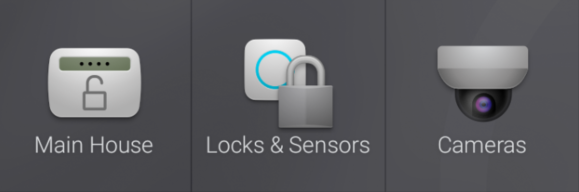
Look at a room's favorited security panel icon, or open a room's Security menu. The icon for this security panel indicates the unlocked (disarmed), locked (armed) or unlocked (disarmed) state and the number of open zones.
-
You can also look at the Security screen. If the alarm has been triggered, an alarm message is displayed and the number of open zones is indicated.
Tip: Also see Setting up security alerts.

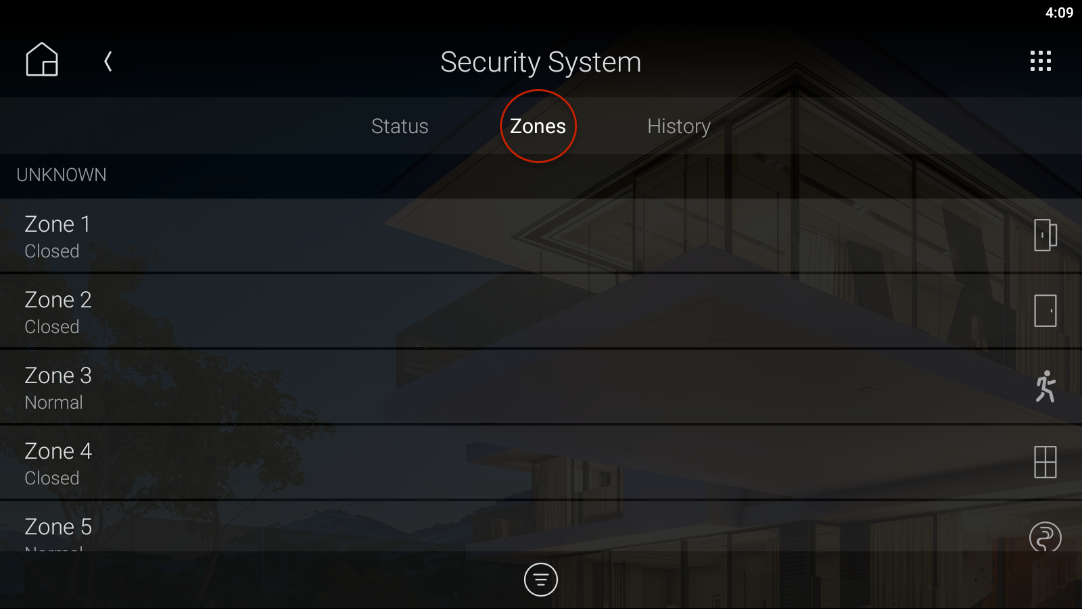
Viewing individual zones
The main security panel screen shows you the state of your security system as a whole, but you can keep an eye on individual security zones, too.
To view security zones:
-
In the security panel screen, select Zones at the top of the screen.

In the Zones screen, you can view the status of each security zone in your house. If a device is controllable by the Control4 system (such as a front gate), you can control it from here by simply selecting the zone.
-
To view only “open” zones (zones that have detected something), select the
 (filter) icon at the bottom of the screen.
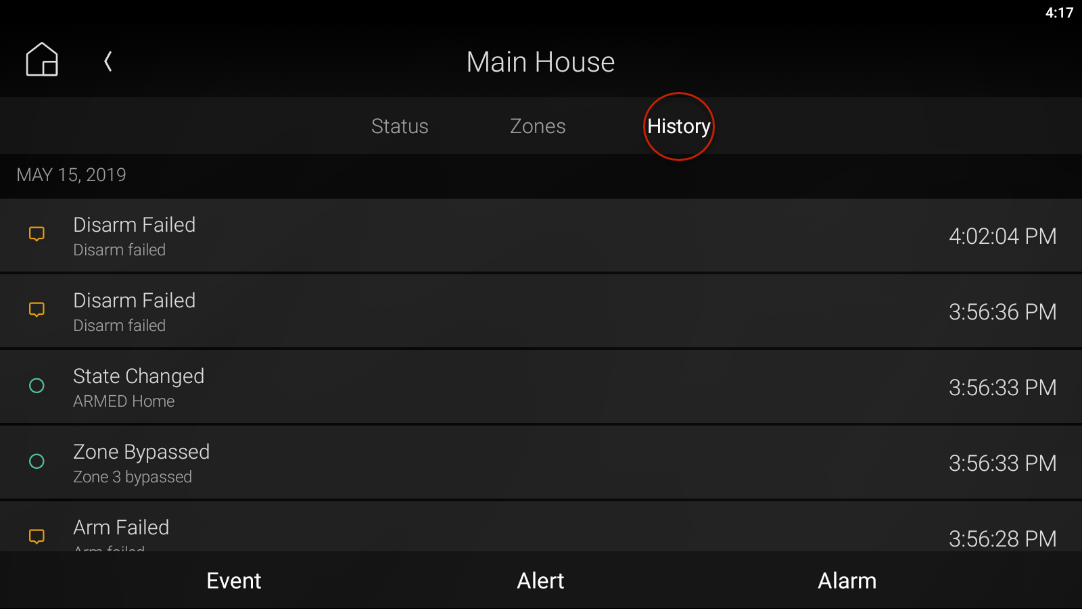
Viewing the security event history
Your Control4 system records each security event or alert, including alarms, sensor activity, and armings and disarmings. To view security event history, the History agent must be included in your Control4 system. Ask your Smart Home Pro to verify it's been installed.
Tip: If no security history is available, ask your Smart Home Pro to include the "History agent" in your Control4 system.
To view the security history:
-
In the security panel screen, select History at the top of the screen. The event history opens.
-
To filter the results, select (or deselect) Event, Alert, or Alarm at the bottom of the screen.


Favoriting security partitions
To add a security partition to the current Room screen:
- Open the Room menu, then tap and hold the security icon. Available security partitions are listed.
- Tap the security panel icon that represents the security partition you want to favorite, then select Favorite to Room.
Go back to Security basics.