Using the MultiDisplay Manager agent
Use the MultiDisplay Manager agent to control multiple displays in a commercial, retail, hospitality, or residential project. You can control multiple displays and audio sources from a single interface, a Control4 touchscreen or Control4 app on Android or iPad.
To set up a video wall to be controlled by the MultiDisplay Manager agent:
-
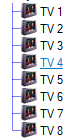
Add your televisions (displays) to the desired room in the project.
-
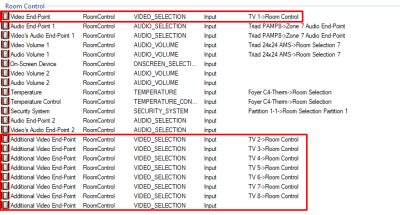
On the Connections tab after selecting the room where the TVs reside, make sure your video and audio bindings are done. You must have one of the TVs assigned as a Video Endpoint. The MultiDisplay Manager is setup by using the Video Endpoint and Additional Video Endpoint bindings. Connect your first TV to the Video Endpoint and your other TVs using the Additional Video Endpoints. The Additional Video Endpoint only shows up one at a time. As soon as the as you bind the first Additional Video Endpoint, the next one will appear. Due to a new one appearing, you will always have one unbound Additional Video Endpoint. Once the bindings are made you are ready to create a MultiDisplay Manager. If you do not have all your video and audio end points setup and configured there is no point moving on to the video wall agent until you do because these will be required during the setup.
-
Add the MultiDisplay Manager agent to the project within Composer. Go to Agents > Add and select the MultiDisplay Manager agent.
-
After theagent has been added, click on Add Wall and select the Audio Zone (room) where the video wall is to reside.

-
After the Audio Zone (room where the MultiDisplay Manager resides) has been selected, click on the button to finish the setup. Within the details of the configuration, you will need to provide a Wall Name, select an Audio Zone, and select a default Audio Source (optional).

-
Within the second section of the MultiDisplay Manager, you will need to choose the number of columns and rows for your video wall layout. The max size a video wall can be is 3 rows by 6 columns due to the size limit on the navigators. Once done press the Get Started button.


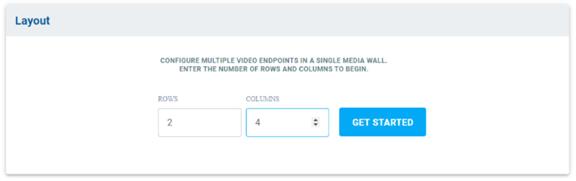
Note: When you press get started you will see the TVs in a layout. The up, down, left, right buttons are currently not functional and will be coming in a future release of the agent. These are not needed for testing of the MultiDisplay Manager and just allow for slight visual adjustments of the TVs on the screen.
-
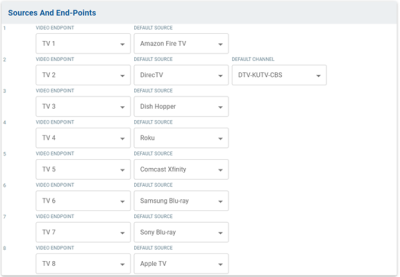
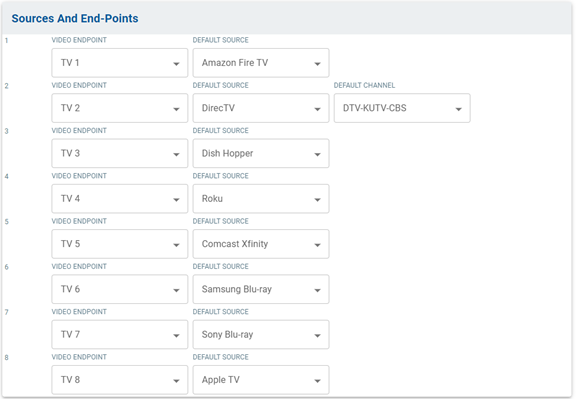
After saving the layout section, the Sources and End-Points section will be populated with drop down sections for selecting video endpoints and their default sources. Set your Video Endpoint, Default Source and if desired, the Default Channel for each television. Press Save to retain the configuration.
-
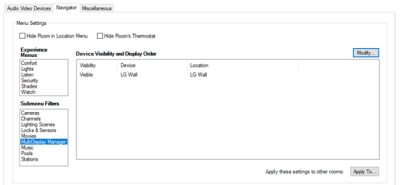
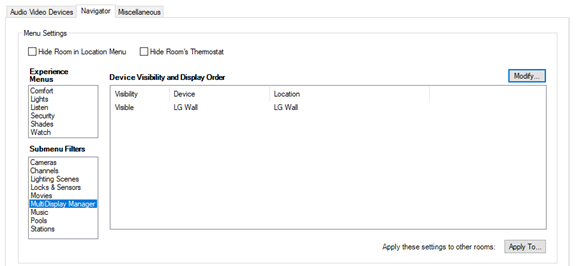
After your wall is configured you will need to make sure that it is visible. Go to the room level where this should be visible. Make sure you are on the System Design tab. On the Properties page go to the Navigator tab and select MultiDisplay Manager in the Submenu Filters section. If they are hidden, click on the modify button, select the wall you want to show and press the Show button to make them visible.
You should now have a MultiDisplay Manager icon within the Watch section on your touch screen. You can favorite that to the main screen if desired by doing a long press on the icon.
Note: The MultiDisplay Manager only works on tablets and touch screens. It will not work on mobile phones or remotes due to the amount of space needed to show everything on the screen.