Replacing an existing controller using the Controller Migration Wizard
Use the Controller Migration Wizard in Composer Pro to easily replace an existing controller in a project.
Note: You should be connected to the same network as the controller when using the Migration Wizard.
Supported uses:
- Primary Controller — Replace a functioning primary controller with a new (or different) controller; migrate project & controller registration to customer.control4.com web services.
- Secondary Controller—
- Replace a functioning secondary controller with a new (or different) controller.
- Replace a non-functioning secondary controller with a new (or RMA replacement) controller.
Limitations:
- Please note that third-party drivers that are authorized, activated, or registered with the MAC address of the primary controller will need to be re-authorized by the installer after the primary controller is changed. The wizard will report the new primary controller’s MAC address. You will need to contact the third-party suppliers and request an updated license(s) or activation keys..
- Some Control4-produced and third-party drivers also use MAC-based pairing or activation solutions to enable communications with the target device or system. Examples of these include: Pandora, AppleTV, and Apple iTunes. These drivers will also need to be reactivated after the migration.
- It is not possible to migrate a non-functional primary controller. If the primary controller needs to be RMA’d, you have to manually load the project onto the new controller.
Before you begin:
- Add the replacement controller to the project.
- Identify the replacement controller.
- Update the OS on the project and controllers to the same version.
To start the Controller Migration Wizard:
- Click Tools > Controller Migration Wizard to open the Wizards windows.
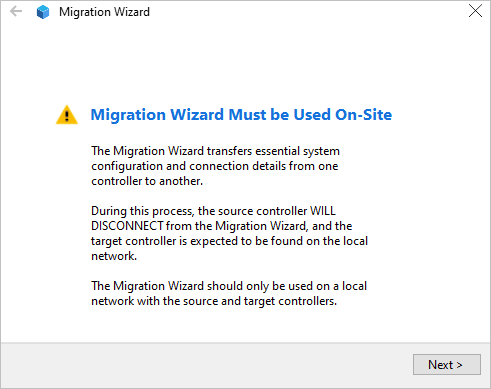
- Read the pre-requistes, then click the Start button.
- In the Controller Selection window, select the Source Controller then the Target Controller from the list of controllers in the project.
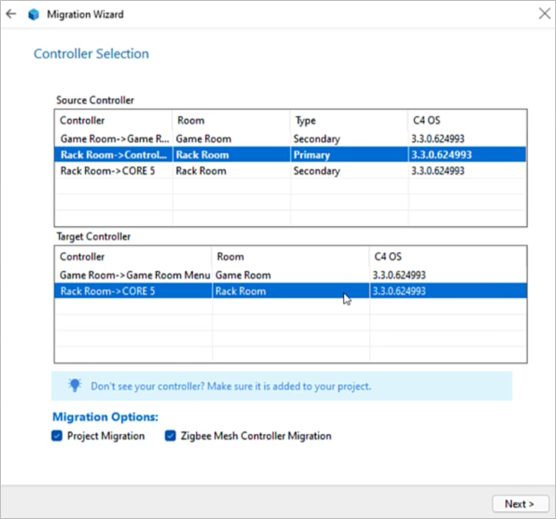
- Click Project Migration, Zigbee Mesh Controller Migration to move this function to the Target Controller and click Next.
Note: Migration Options auto-populate based on the functions that the Source Controller is running.
- Verify the connections you wish to transfer to the Target Controller. Click Accept to select all the connections, or de-select connections if you're keeping the old controller for inputs and outputs. Click Next, when you're finished.
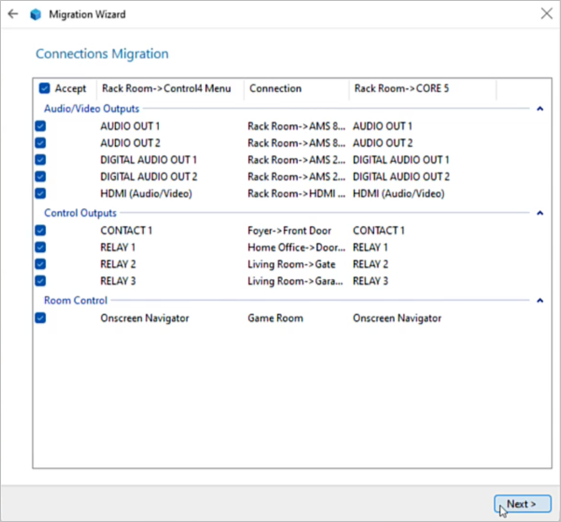
Note: Since controllers can support a different number of connections, all connections are moved in sequential order starting at the first available option. For example, if a single IR connection on an EA-3 is connected to IR Output 3, the connection will be mapped to a CORE-3 IR Output 1.
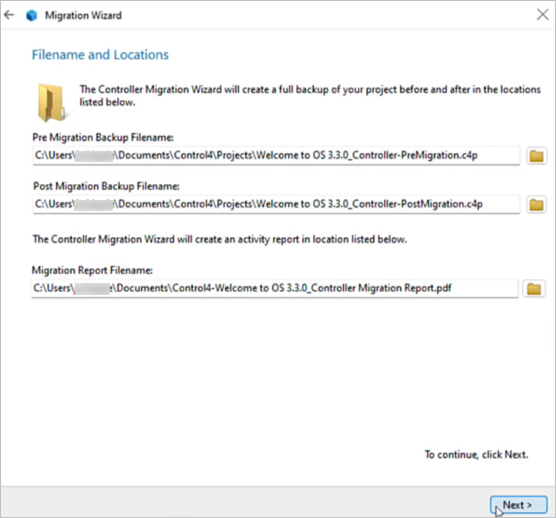
- Verify the location to save a pre and post project backup and Migration Wizard Report to your computer. Click the folder icon to change the location. Click Next.
- The Migration Wizards moves the project configuration and connections to the Target Controller. When the migration is finished, it drops the connection to Director.

- Connect to the new controller and verify the migration was successful.