Removing Z-Wave devices
Z-Wave devices can be removed from any network at any time by using the Remove button found in Available Devices. This is true even if they are not part of the network performing the remove operation.
Removing Z-Wave devices from a previously installed network requires an available Z-Wave controller and interaction with the Z-Wave device-usually by pressing the Z-Wave button on the device. There is no “Remove from mesh” button press sequence similar to ZigBee Pro devices.
Removing Z-Wave devices from the network
To remove a Z-Wave device from the network:
-
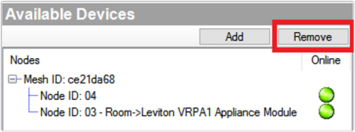
In Connections in the Z-Wave Network, click Remove in the Available Devices window.
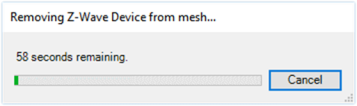
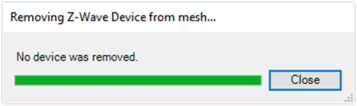
The Removing Z-Wave Device window appears and a 60 second timer starts.
-
Remove the Z-Wave device from the network according to the manufacturer’s instructions, usually by pressing a Z-Wave button on the device. See the documentation for the Z-Wave device for more information.
Note: If the device is not removed from the network before the timer ends, close the window and click the Remove button to try again.
-
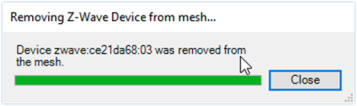
If the device was removed successfully, the timer will stop and the window will say the devices was removed from the network.
-
If the device is not removed from the network before the timer ends, close the window and click the Remove button to try again.
Removing failed Z-Wave devices
If a Z-Wave device has become lost or inoperable so that a physical button press cannot be performed to remove it from the network, the Remove Failed option is provided. Remove Failed is used to force a Z-Wave device off of the network.
Important! Do not use this option if the device is operational. See “Removing Z-Wave devices from the network”. Use this option only if a device has physically failed and is inoperable!
To remove a failed Z-Wave device:
-
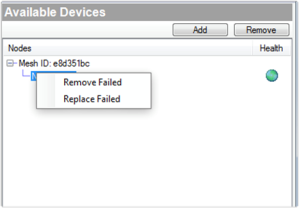
In Connections under Z-Wave Network, right-click on the Node ID of the failed Z-Wave device, and select Remove Failed.
-
The controller will make one last attempt to communicate with the Z-Wave device. If the device successfully communicates, the Remove Failed will not proceed and the device must be removed using the Remove button instead. Remove the device according to the manufacturer’s instructions, usually by pressing the Z-Wave button.
-
If the communication attempt fails, the device will be removed from the network and will not be tracked as a Z-Wave node by the Z-Wave controller. Be aware that this device must now be reset to defaults before using the device again within the system. See the manufacturer’s instructions for more information.
Replacing failed Z-Wave devices
If a Z-Wave device has become lost or inoperable so that a physical button press cannot be performed to remove it from the network, the Replaced Failed option is provided. Replace Failed is used to force a Z-Wave device off of the network and prompt the user for a replacement. The new device can be either the same type or different.
This option allows you to replace a Z-Wave device and preserve the same Node ID. This can be useful if you have some direct device associations done between Z-Wave devices. It is not needed for most Control4 systems.
Important! Do not use this option if the device is operational. See “Removing Z-Wave devices from the network”. Use this option only if a device has physically failed and is inoperable!
To replace a failed Z-Wave device:
-
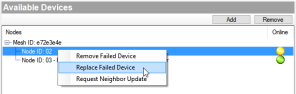
In Connections under Z-Wave Network, right-click on the Node ID of the failed Z-Wave device, and select Replace Failed.
-
Click Yes to continue only if you are replacing a failed device.
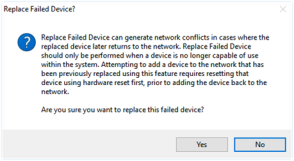
The controller will make one last attempt to communicate with the Z-Wave device. If the device successfully communicates, the Replace Failed will not proceed and the device must be removed using the Remove button instead. Remove the device according to the manufacturer’s instructions, usually by pressing the Z-Wave button.
If the communication attempt fails, the device will be removed from the mesh and will not be tracked as a Z-Wave node by the Z-Wave controller. Be aware that this device must now be reset to defaults before using the device again within the system. See the manufacturer’s instructions for more information.
-
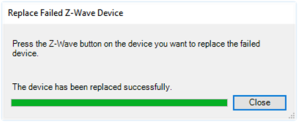
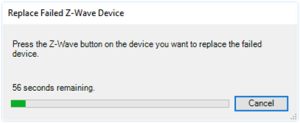
Add the replacement Z-Wave device to the mesh according to the manufacturer’s instructions (usually by pressing the Z-Wave button) before the timer expires.
-
When the device is added successfully, the timer will show complete and a message will say the replacement was successful.