Configure multiple controllers
Use the System Design view and Connections > Network tab to configure multiple controllers. If you have more than one controller in your Control4 system, you must designate one of them as the primary controller (Director). The others will be secondary controllers.
To add and configure multiple controllers:
- Start Composer Pro and connect to a Director on Local Network.
- From the Directors dialog that appears, select the Director’s network address of the primary controller hardware you are setting up, and click Connect.
When you have multiple controllers in the system, connecting to a controller defines where the project configuration will be saved (Director). When you identify the controllers to the project, any other controllers will be configured as a slave or secondary controller and Director will be turned off automatically. The next time you launch Composer Pro, only the network address of the Director of the primary controller appears on this screen. If the correct address is not listed, click Add to add the address manually.
- In the project tree, select the room where the controller resides, and add it to the system. Do the same for all the controllers you plan to add to the system. See “How to add devices to a project” for details.
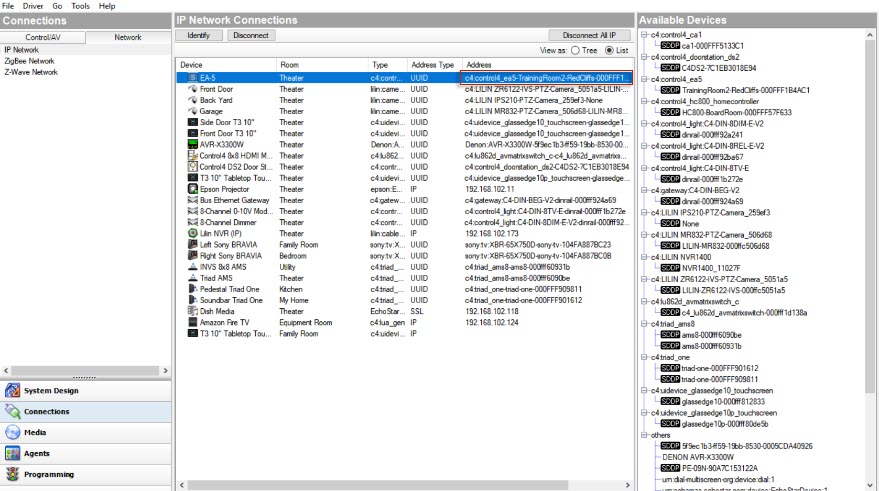
- Click the Connections view.
- In the Connections view, select the Network tab.
- Select the first controller listed, and click Identify.
- On the dialog that appears, follow the on-screen instructions, and click Next to continue to identify the other controllers you have added to the system.
- When you finish identifying all of the controllers and any other devices in your project, click Close to return to the Network tab in the Connections view.
- In the IP Network Connections pane under Address make sure that all the devices in your project have an address on the list.