Agents view
Use the Agents view to perform more complex programming by module.
Note: See Programming with agents for help configuring and using these agents.
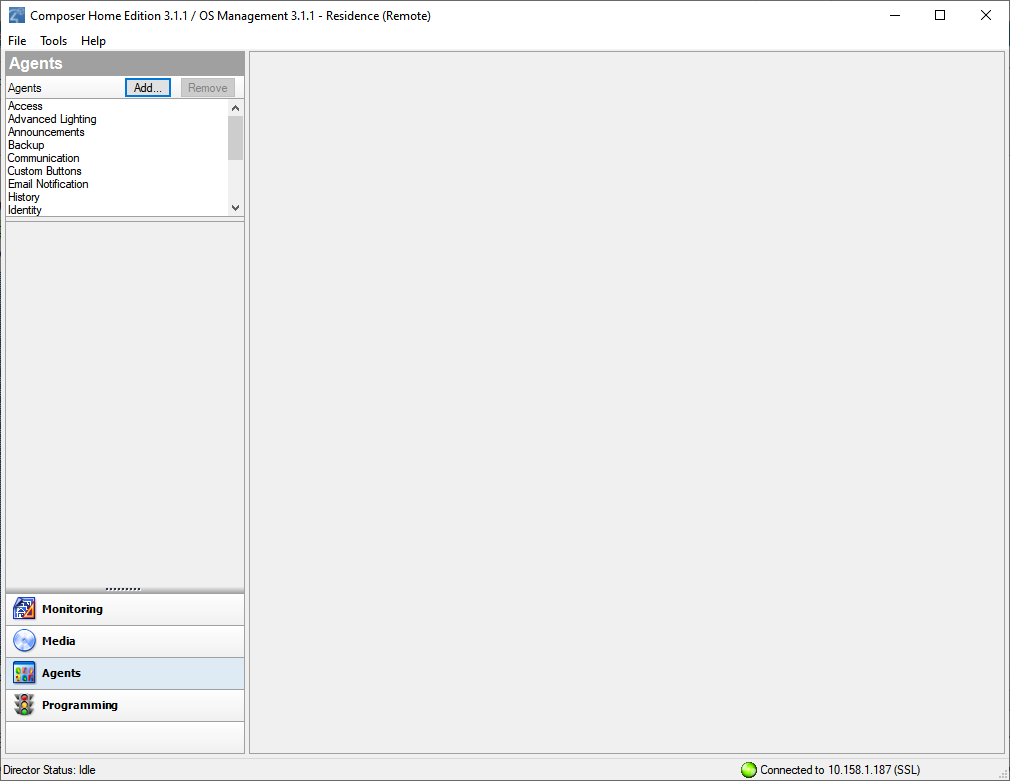
To access the Agents view:
- Click Agents at the bottom of the System Design pane.
- In the Agents pane, view the list of agents and their variables.
- Access
- Advanced Lighting Scenes
- Announcements
- Backup
- Communication
- Custom Buttons
- Email Notification
- Guest Services
- History
- Identity
- Light Properties
- Lighting Scenes
- Macros
- Media Scenes
- Media Sessions
- Navigator
- Push Notification
- Scheduler
- Screen Saver
- Timer
- Variables
- UI Configuration
- Wakeup/Goodnight
Available agents include:
Example: The Scheduler agent lets you program using dates and times. See Using the Scheduler agent for examples.
Common buttons available on some agents in the Agents view:
- Remove—Lets you remove agents from your system.
- New—Lets you create a new instance for customizing the selected agent in the Agents pane. For each specific instance of the agent, you provide a unique name and customize it according to your needs.
- Delete—Lets you remove an existing instance of the selected agent in the Agents pane.
- Save—Lets you save the agent-specific information. Not all agents require a manual save option. In most cases, the agent information saves automatically.