INSTALLING THE VIDEO DOORBELL
- Assemble the waterproof Ethernet connector.
- Insert the Ethernet connector through the screw-on cap.
- Open the rubber gasket and place it over the cable.
- Insert the Ethernet connector through the waterproof connector base.
- Push the rubber gasket into the connector base and lightly screw the cap to assemble the waterproof connector.
- Make sure the rubber O-ring is installed on the Ethernet dongle.
- Plug the Ethernet connector into the VDB Ethernet dongle.
- Press the waterproof connector and the Ethernet dongle together and twist a quarter-turn.
- Tighten the screw cap on the back of the waterproof connector.

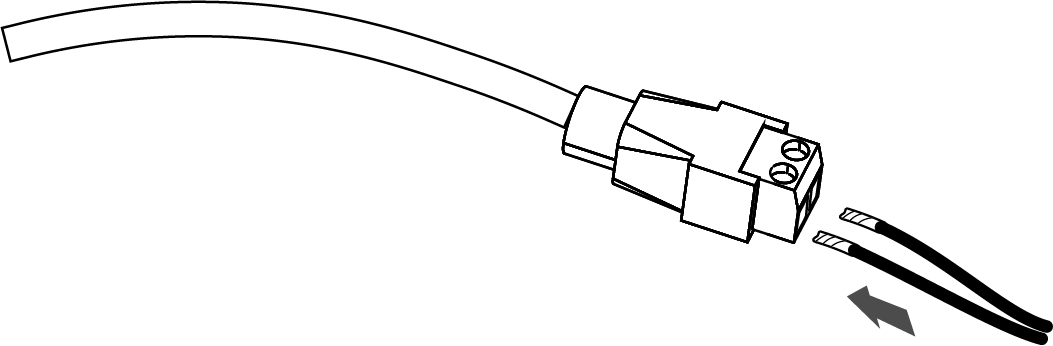
- Optional: To wire to an external doorbell chime or contact sensor, connect the wiring to the wiring harness. Connect the two wires from the doorbell chime in any order (polarity doesn’t matter).
- Remove the plastic on the front and back of the VDB. Be careful to not disturb the thermal paste on the back of the VDB.
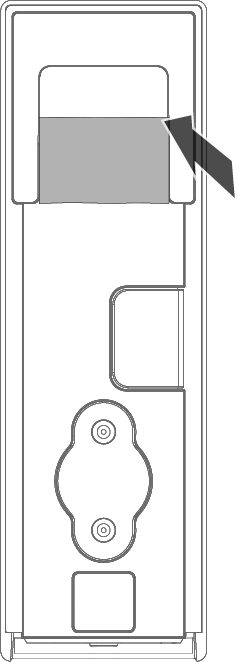
- Feed the cables and connectors into the cable passthrough.
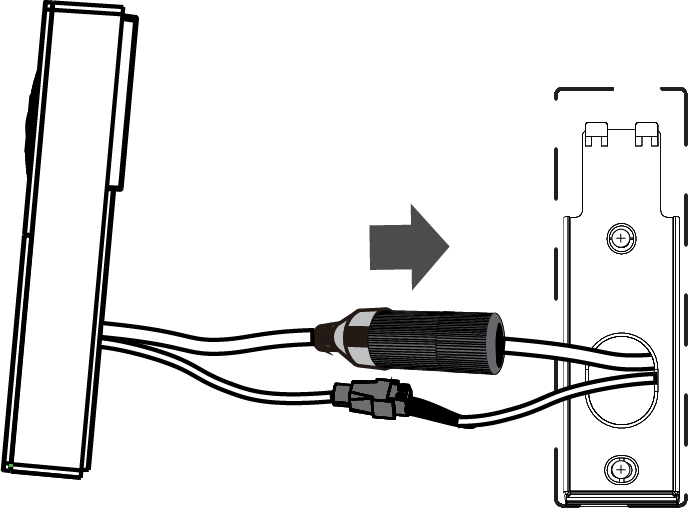
- Install the VDB onto the metal bracket.
- Hook the top of the bracket with the back of the VDB.
- Swing the bottom of the VDB in onto the bracket and firmly press against the bracket.
- Insert and tighten the set screw using the provided Allen-style wrench.
- Power up the VDB by connecting the Ethernet cable to the PoE source. The VDB powers on and requests a DHCP address. After getting an IP address, the LED ring shows solid white.
